- Video Tutorial →
See how to start the resource with a video guide - Text Tutorial →
Step-by-step instructions to start the resource in text form - Common Errors →
See how to fix common issues when starting the resource
Video Tutorial
Text Tutorial
Step 1
The first thing you should do is go to our WEBSITE and log into your account by clicking “Client Area” in the upper right corner. Then, go to the account settings in the same corner, as shown below: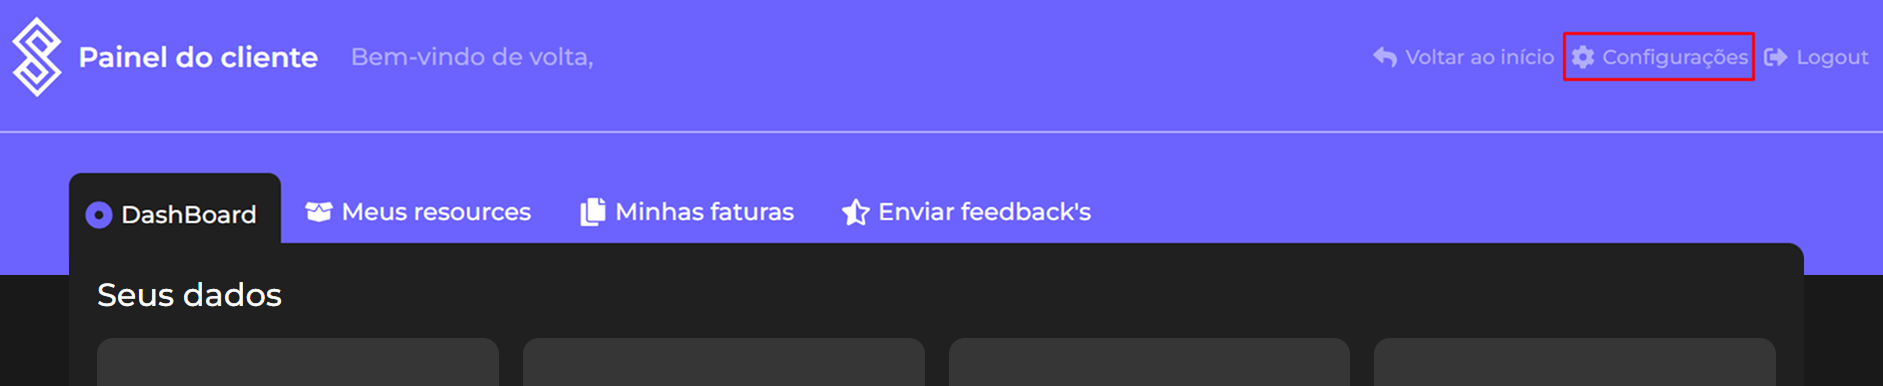
How to get the IP?
Hosted Server
Just open your MTA, select your server from the server list, and copy the IP shown at the top, as in the example below: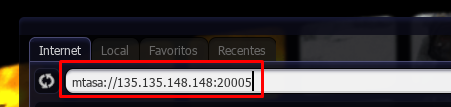
Local Server
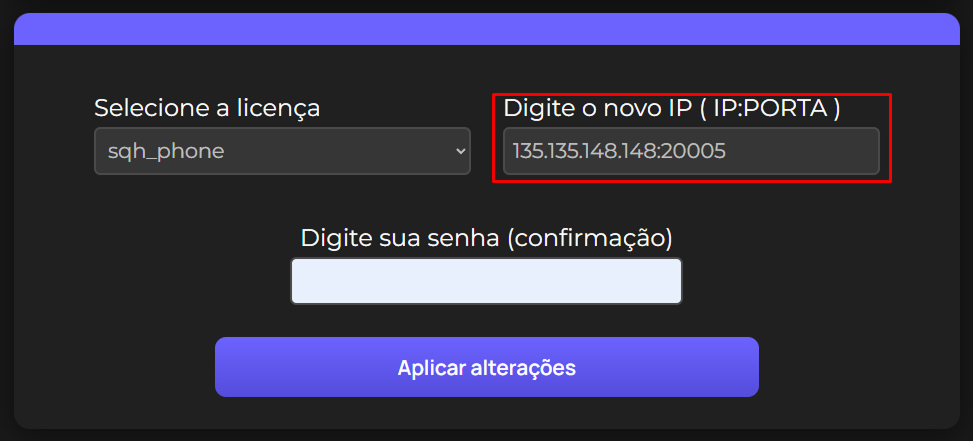
Go to this WEBSITE, copy the IP shown there, then get the port from your MTA. The final format will be: SITE IP:MTA PORTStep 2
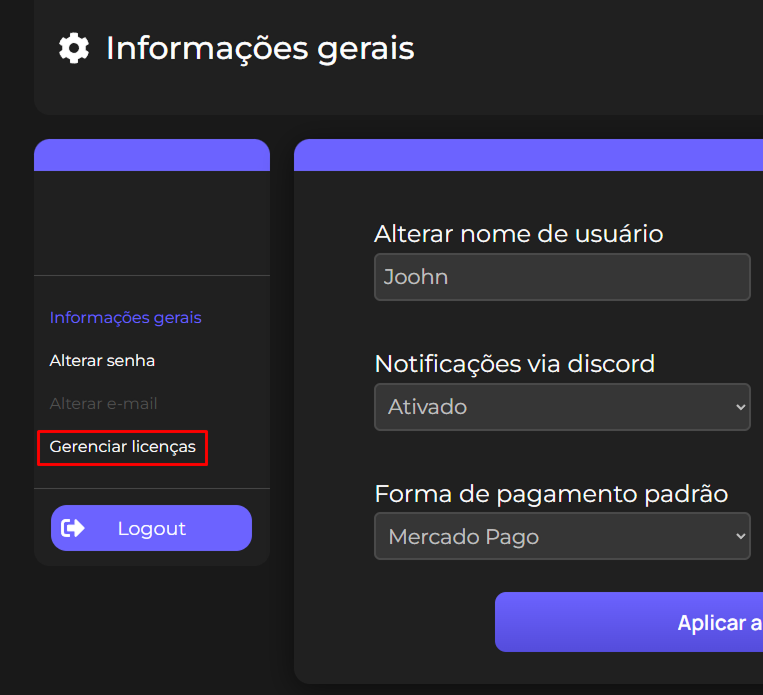
Now that you’ve added your IP on the site, it’s time to configure it inside the script. Stay in the MANAGE LICENSES panel. Open the configuration file of your product, usually located inside a folder calledconfig, named main.lua or config.lua. The first line should look like this:
"". You can get the KEY from the MANAGE LICENSES page on the website, as shown below:

Common Errors
getServerIpFromMasterServer
This function is a very recent addition to MTA, so your server may not yet be updated to support it.